Pages in this section:
List view
4️⃣ Section 4: Analysis
🔎 Analysing a file
📚 The Library
📃 The Report tab
📃 The Analysis tab
📷 Screenshotting your maps
✨ Transforms Filters: Tracing paths
✨ Transforms Filters: Zoom
✨ Transforms Filters: Focus or exclude factors
✨ Transforms Filters: Top factors and links
✨ Transforms Filters: Combine opposites
✨ Transforms Filters: Remove brackets
✨ Transforms Filters: Include or exclude hashtags
✨ Transforms Filters: Collapse factors
✨ Transforms Filters: Autocluster
✨ Transforms Filters: 🧲 Magnetic labels
🎨 Formatters: Overview
🎨 Formatters: Link label position
🎨 Formatters: Labels
🎨 Formatters: Labels - Tally
🎨 Formatters: Labels - Surprise
🎨 Formatters: Sizes
🎨 Formatters: Colour factor text red
🎨 Formatters: Translation
🎨 Formatters: Colour links
🎨 Formatters: Colour factors
🎨 Formatters: Label wrapping
🎨 Formatters: Factor spacing
📊Tables tab overview
🔗 The Links Table
👥 The Sources Table
📊 The Factors table
📜 The Statements Table
💬 The Mentions Table
❓ The Questions Table
⚒️ The Closed Question Blocks Table
📕 Comparisons
All sections:
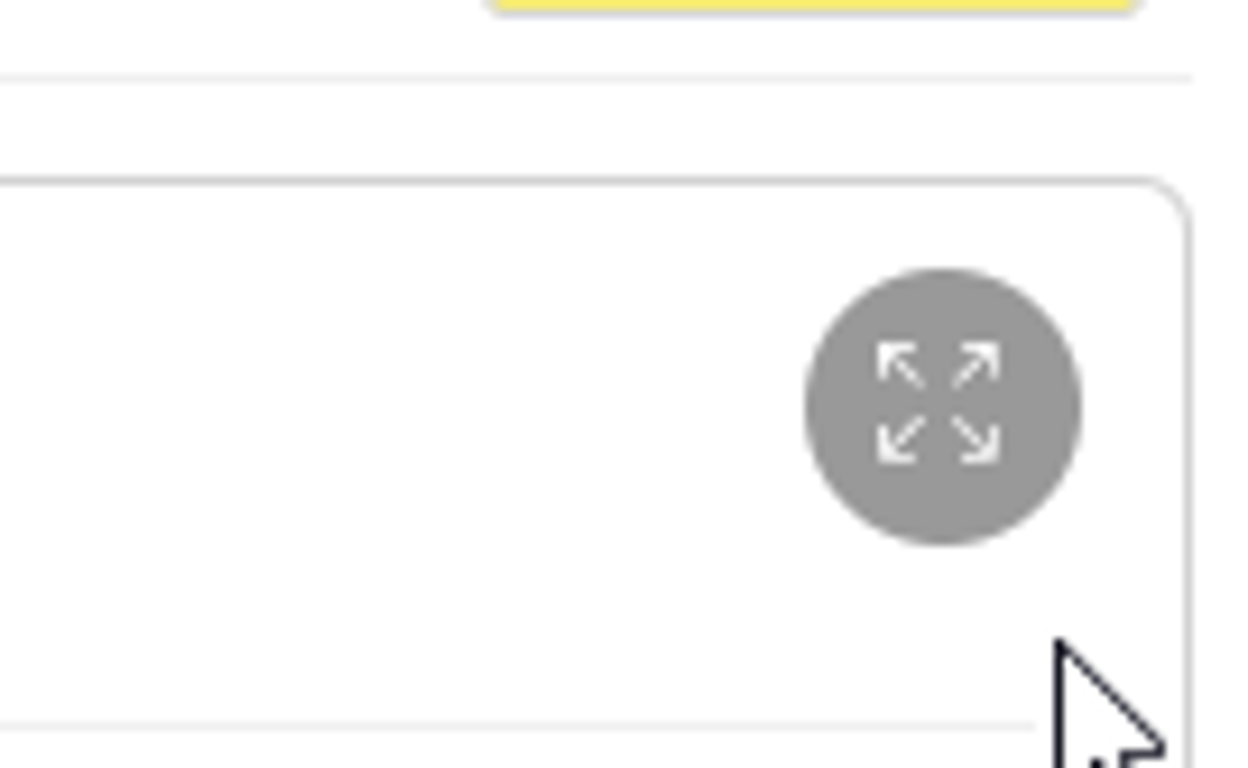
Screenshotting your maps
When creating a report using the Casual Map app you may find it useful to screenshot your map or other parts of the app.
It is important that what you want to screenshot should occupy the maximum possible space on your screen. Hover your mouse over the table or map you want to screenshot and press the full-screen button:
To screenshot using Windows tap
PrtSc once to copy an image of your entire screen to the clipboard. You can then hit Ctrl and V to paste it into your document. To screenshot a snippet of your screen press Shift, Windows Keyand Sto open a small toolbar at the top of the screen. You may then choose between capturing entire screen, a window or a selected portion.
To screenshot on a Mac press the
Command, Shift and 3 together will take a screenshot of your entire screen. Alternately, hold Command, Shift and 5, which will open the screenshot tool menu. You may then choose to capture the entire screen, a window or a selected portion.